


Your current location:Home > Products > Core Shooting Machine > Automatic core shooter

 Products
-
Contact Us
-
Name:Mr.Lee
Tel:400-002-2510
Email:578192424@qq.com
Address:Quanzhou (Nanan) High end Equipment Intelligent Manufacturing Park

Detailed information
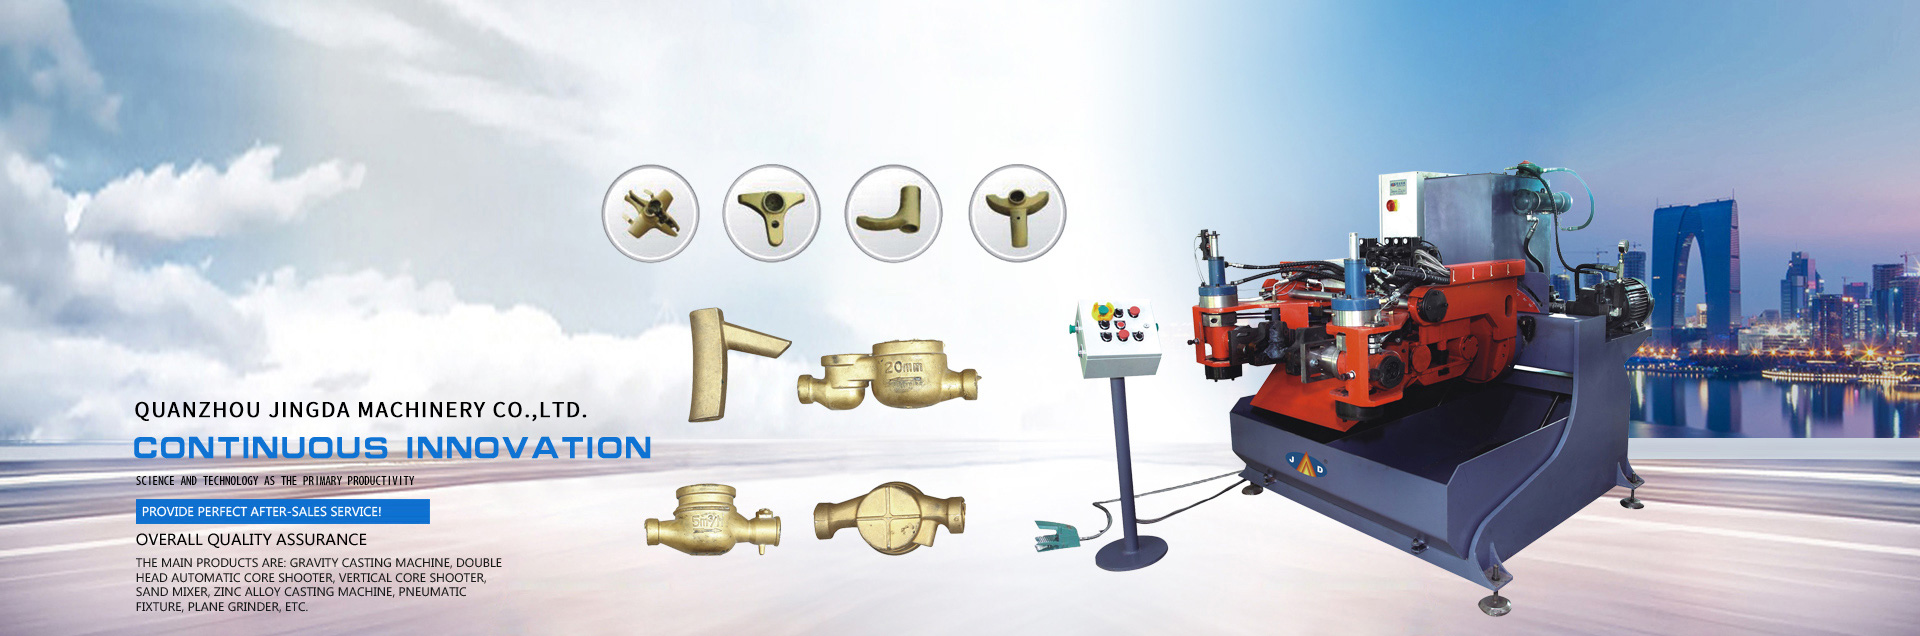
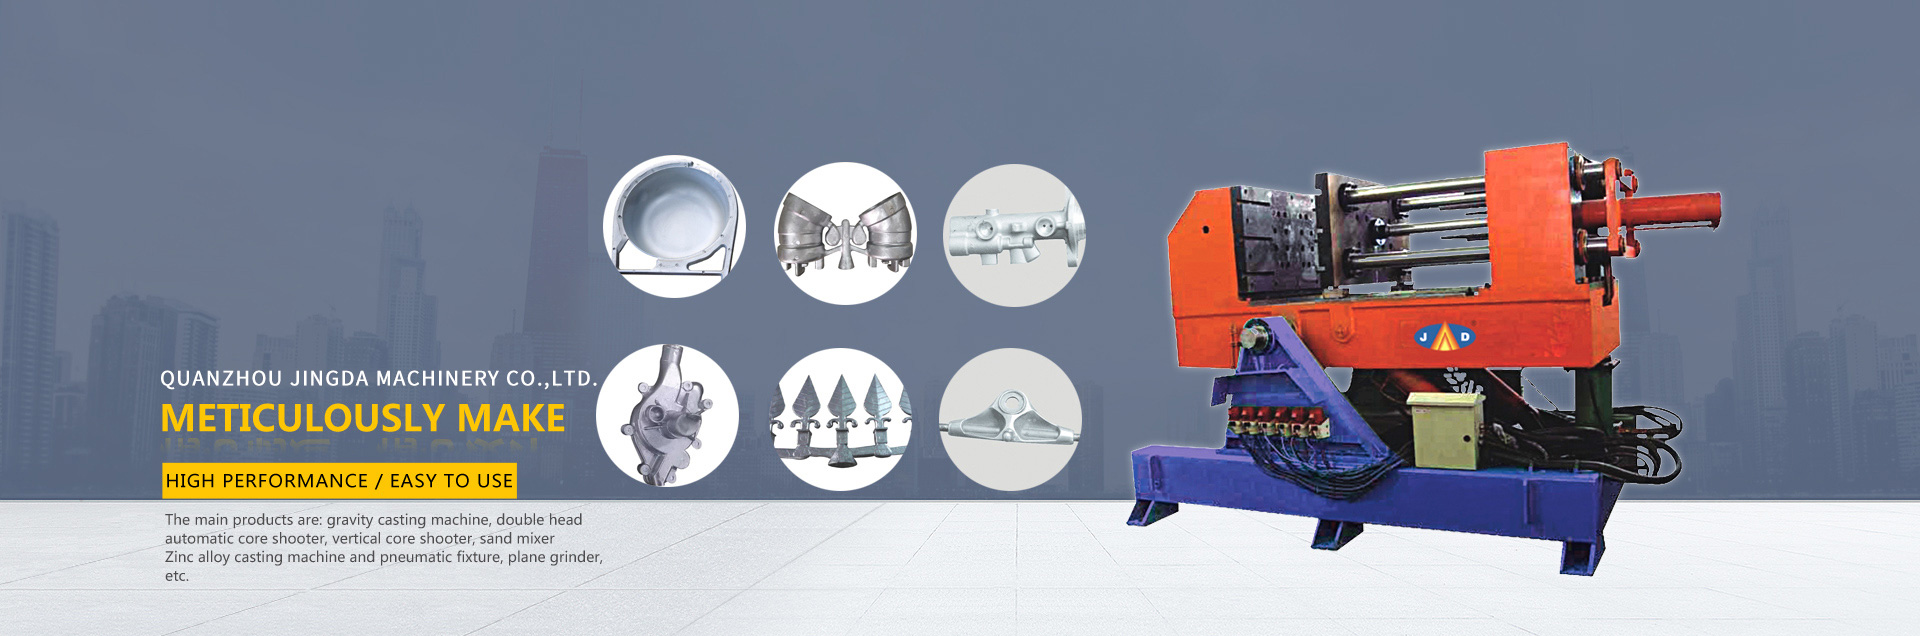
全自动射芯机 射芯机厂家 覆膜砂射芯机价格 【质量保证】射芯机
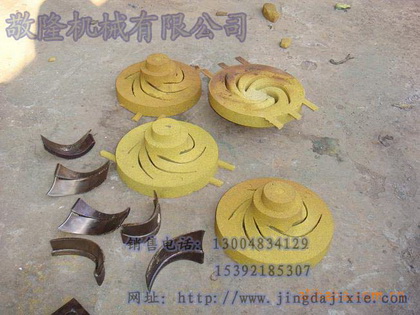
The automatic core shooter is mainly used to produce sand core and outer mold sand mold. In the production process and processing, the core shooter can bring many benefits to the foundry. The used core shooter manufacturers all know that the core shooter is an indispensable sand core equipment for modern and future foundry. The preparation before the work of Jingda automatic core shooter is introduced below.
1. Before starting the automatic core shooter, the required materials must be fully prepared, and the process parameters and data must be adjusted. When all the preparations are ready, the machine can be started for production.
2. Before the automatic core shooter starts automatically, it is necessary to switch to select the manual position.
3. Operate the sand shooting barrel switch to make the sand shooting barrel move in or out of the position of the sand shooting barrel, start to add sand when it is in place, and return to the original position when it is full.
4. Check whether the origin indicator light is on. If it is on, it means that all actions have reached the origin. At this time, the switch can be selected to the automatic position.
5. At this time, the start switch can be turned on. After the automatic start, it will work according to the preset program sequence. After completing a set of actions, it will wait for the next action to start
Product attributes
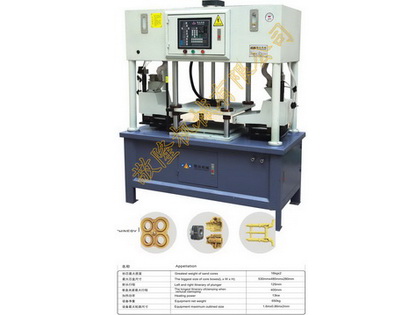
Function and technical parameters of jd-400-z automatic double head core shooter
1. Maximum mass of sand core: 3.2kg * 2
2. Maximum core box size (length × width × height): (380 * 280 * 200) mm
3. Left and right stroke of injector: 125mm
4. Maximum stroke of vertical clamping: 250mm
5. Net weight of machine: 425kg
6. Heating power: 6.5kw
7. Machine dimension (L × w × h): (1420 * 680 * 1650) mm
Use and maintenance
Application of jd-400-z core shooter
5-1 preparation before commissioning
1. Check whether the air pipe and power supply have been connected properly;
2. Thoroughly remove the dust, dirt and tools that may be left on the machine after installation;
3. Whether the machine is in the mold open state to ensure the safety of the operator;
4. Place the core box and cushion block on the workbench.
Note: in any case, before opening the compressed air valve, a cushion block must be placed between the machine workbench and the sand shooting head to avoid damage.
Check whether the screws and nuts of each connecting part are loose. If they are loose, they must be tightened.
5-2 operation inspection
1. Turn on the main power switch and all control circuit switches, and check whether the lights are on, whether the green indicator light of switch power is on, and whether the power signal light of control panel is on.
2. Open the main inlet valve and check whether the pressure on the pressure gauge of the duplex filter reaches 4-6 atmospheric pressure.
3. Put the machine in manual operation.
4. Press the mold opening and closing switch to eject the clamping cylinder when closing (manually), and press the switch to return the clamping cylinder when opening.
5. When pressing the advance and retreat switch, the left and right boxes will enter at the same time (manually), and when pressing the retreat switch, the left and right boxes will exit at the same time.
6. Press the start / stop switch of the left sand shooting, when it is started (manually, in the case of sand shooting in the sand box), the atmospheric pressure will shoot out from the left box, when it is stopped, the atmospheric pressure will stop shooting.
7. Start and stop the right sand shooting pipe, press the start time (manual, sand box shooting) atmospheric pressure to shoot from the right inlet box, press the stop time, atmospheric pressure to stop shooting.
8. At the same time, when the sand shooting start stop switch is pressed, the atmospheric pressure will be ejected from the left and right boxes at the same time. When the switch is pressed, the atmospheric pressure of the two boxes will stop and eject at the same time.
9. When the auto key is started, check whether the single or automatic indication is on, whether the set parameters have returned to the original position, and whether the original air pressure is normal.
10. Whether the temperature of the temperature controller of the control panel rises and reaches the required temperature.


